
Importing users with a CSV
Under the User Management Section, Admins can bulk import users using a CSV file. You can use the sidebar and navigate to Admin > User Management.

We highly recommend that you import your users using a CSV file for your initial setup. This is usually easily exported from your HRIS, which can save time. You can also use our CSV import template as a guide for imports.
A copy of the Import Template is easily accessible after selecting the Import Users option.


The above is an example of our CSV template. DO NOT delete the header row. Complete the document with as much data as you would like to import. Firstname, Lastname, Email and UserStatus are required. The rest are optional but recommended. You can leave the other fields blank.
Now click the Upload CSV button displayed on the Import Users screen and browse to your updated CSV template file.Roslin will now read your CSV and present the information to you. If you used our template, be sure to select the Has Headers? option to automatically match the header to the field content.

If you didn’t use our template, ensure that the correct header is selected in correspondence to the field content.

To proceed, select the Preview Changes option. If there are any errors, they will be displayed in red for you to correct. Once satisfied with your import, click the Confirm Changes button at the bottom right.
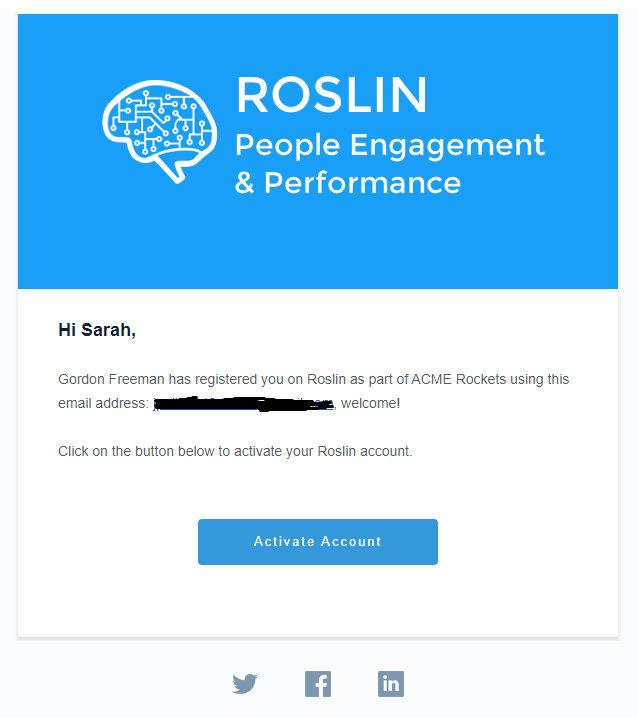
Users will be sent a welcome email asking them to log in and create their passwords, as shown below.
Roslin will automatically update the data of existing users with the import data. The Unique identifier will always be the email address. This allows the admin to perform bulk updates of existing users, if necessary, efficiently.